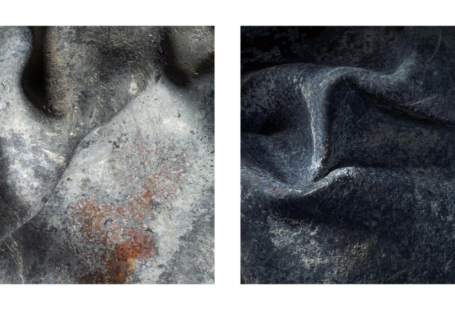
I generally shy away from discussing my focus stacking technique as I feel that the images should stand on their own without understanding the magic that goes into creating them. There is nothing secretive about the approach and I’d like there to be more artistic exploration of the close-up world beyond the often beautifully captured pictures of plants and insects by practitioners of the technique. I described the approach last year in a post titled, Finding Inspiration in a Bell Pepper.
Shooting high magnification images comes with the challenge of shallow depth of field (the distance of the area in focus). It’s not uncommon for the depth of field to be in the millimeters for some of my work. There are some approaches to work around this limitation. Many photographers will use the maximum aperture to increase their depth of field. In fact, Edward Weston created a special aperture that was the equivalent of f/240 which resulted in exposures of 4+ hours. Some people will shoot with large format film cameras at normal magnifications and crop the film to capture the subject.
The approach I use is one that is designed for scientific microscopy applications. Essentially, a scene is divided into many in-focus planes defining the desired depth of focus. I use an automated focusing rail from Cognisys called the StackShot. This allows me to select the furthest area in the background that I want in focus and the closest point. Then, I determine the distance per step and allow the rail to move the camera into place for each shot.
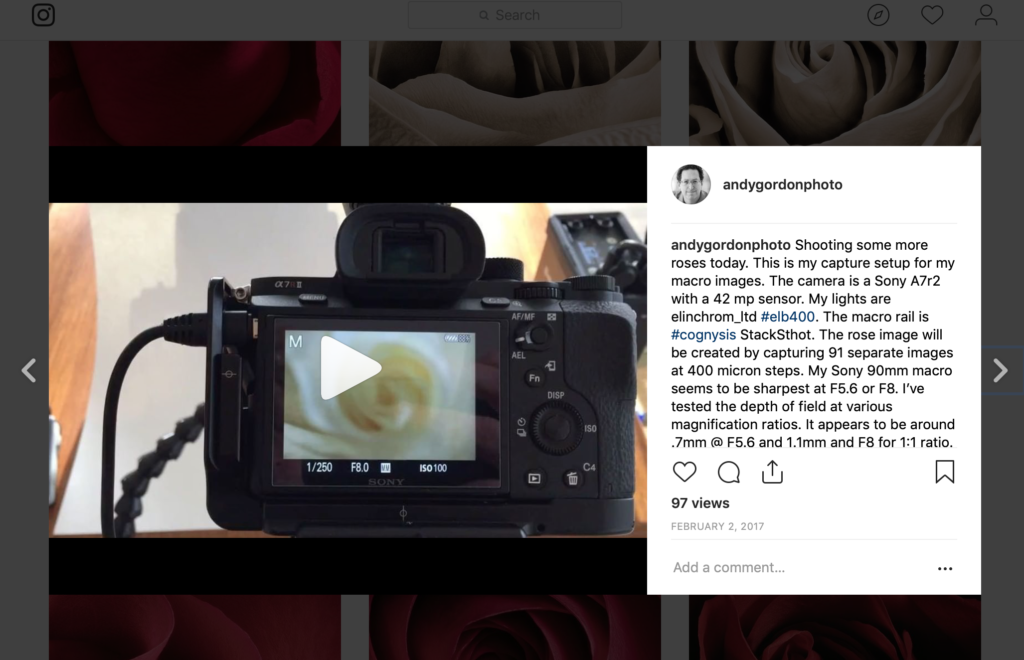
Many photographers use the same technique by eyeballing the adjustments and rotating their lens manually. Similarly, some of the newer cameras can be controlled to do the same thing with specialized remotes or in-camera tools. I also use studio lighting equipment that ensures that each captured image has no blurring that comes from vibrations which are always greatly enhanced with higher magnification.
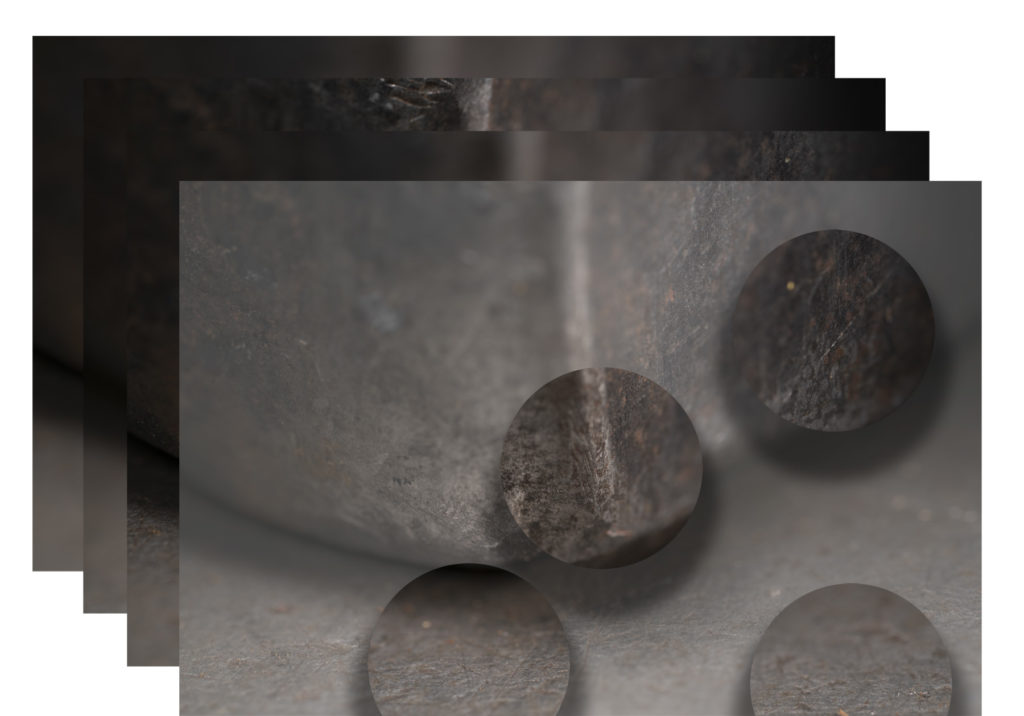
Software is used to analyze the images, capturing only the details that are in focus, and then computes a final image. In the case of the image below, there were 100+ images captured to ensure the full image was sharp and in focus.
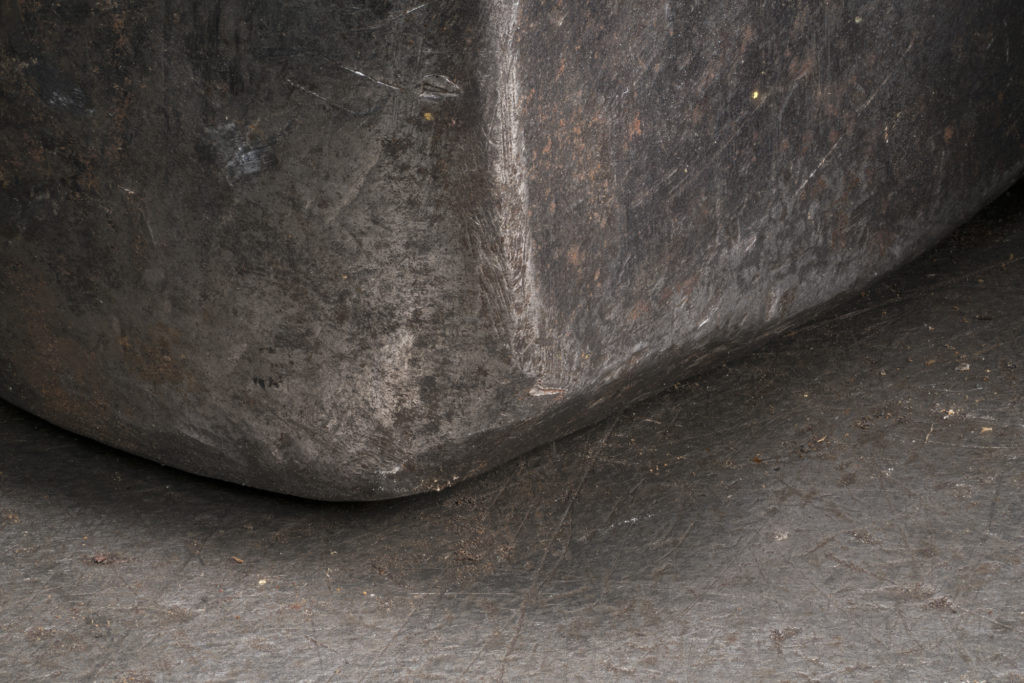
Without getting too detailed, that’s really the whole process. The rest has to do with discipline – keeping the lens clean, finding the right focus, lighting for dramatic impact, setting exposure correctly, determining the distance between images and minimizing vibrations. I process the images in Lightroom (convert from RAW to TIFF), Helicon Focus (combine the images), and Photoshop (retouch and enhancement).
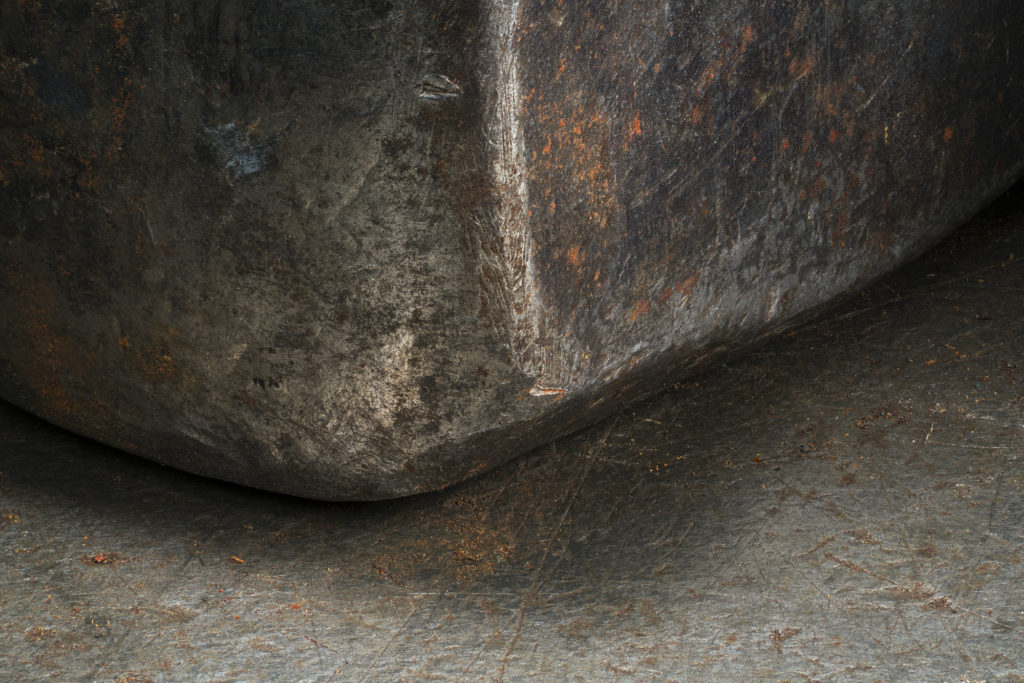
Hopefully, magic comes out of the deliberative and time-consuming process. In reality, there are many artifacts and failures which can be frustrating when it takes an hour or so to create and edit an image. But it is worth the effort when an object or scene is captured that otherwise would be nearly impossible and art is created as a result.

